

MFA Challenge Widget
When to expect them and how to test in sandbox.
Overview
Some financial institutions (FIs) require users to complete an extra verification step before returning account data. This is called an MFA challenge.
When this happens, Aerosync pauses the data job, sets its status to pending_mfa, and emits a webhook so your system knows to prompt the user to complete the challenge.
Important: MFA challenges are initiated by the user's bank, not by your
integration. You cannot predict whether a given bank will require one. Your
integration should always be built to handle it.
Two types of MFA in Aerosync
It helps to understand that MFA can appear in two different contexts:
| Context | When it happens | How it's handled |
|---|---|---|
| Bank linking | During initial widget flow, if the bank requires it | Handled inline; the widget prompts the user automatically. No action required from your backend. |
| Data jobs | After bank linking, when running identity, balance, or transaction history jobs | Handled via webhook + widget re-launch. This is what this guide covers. |
The full pending_mfa flow
pending_mfa flowStep 1: Connect a bank with MFA capability
The user connects their bank through the Aerosync widget. For banks that may require MFA on data jobs, the widget handles any inline MFA challenge at link time automatically.
Once the widget closes and onSuccess fires, you receive a connectionId. Store this.
Step 2: Create a data job
Using the connectionId, create a data fetch job:
- Identity:
POST /v2/accounts/{connectionId}/identity/job - Balance:
POST /v2/accounts/{connectionId}/balance/job - Transaction History:
POST /v2/accounts/{connectionId}/transactions/job
Step 3: Detect pending_mfa
pending_mfaIf the FI requires additional verification, the job status will move to pending_mfa.
You'll know this in one of two ways:
- Webhook (recommended): You'll receive a webhook with a
pending_mfastatus. Set up webhook handling, see Handle Webhooks. - Direct poll (backup): Check the job status via
GET /v2/accounts/{connectionId}/job/{job_id}. AjobStatusofPending MFAmeans the challenge is waiting.
Step 4: Re-launch the widget with MFA parameters
Re-launch the Aerosync widget using the same method as initial bank linking, but with three additional parameters:
| Parameter | Value |
|---|---|
handleMFA | true |
jobId | The job ID returned when you created the data job |
connectionId | The connection ID from the original bank link |
The widget will launch directly into the MFA challenge screen.
Example from Web SDK configs (refer to the widget integration guide for your specific SDK implementation).
let widgetRef = initAeroSyncWidget({
  elementId: "widget",
  iframeTitle: "Connect",
  environment: "sandbox",
  token: token,
  aeroPassUserUuid: aeroPassUserUuid,
  handleMFA: true,          // required
  jobId: jobId,             // required
  connectionId: connectionId, // required
  onSuccess: function (event) {
    console.log("MFA complete", event);
  },
  onError: function (event) {
    console.log("MFA failed", event);
  },
  onClose: function () {
    console.log("Widget closed");
  }
});

widgetRef.launch();
What a user sees
When Aerosync widget is launched with handleMFA, jobId and connectionId:

Widget redirects to MFA page to complete the challenge:
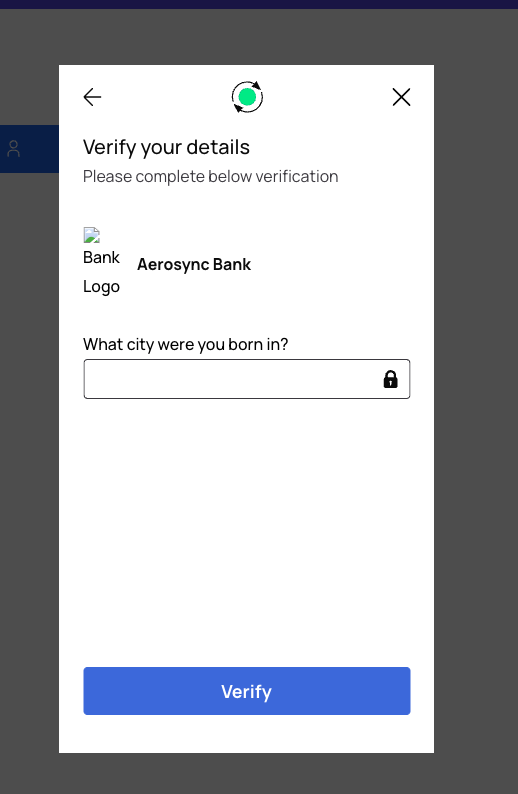
When user clicks on the continue button, Aerosync will initiate the process to verify the MFA challenge:
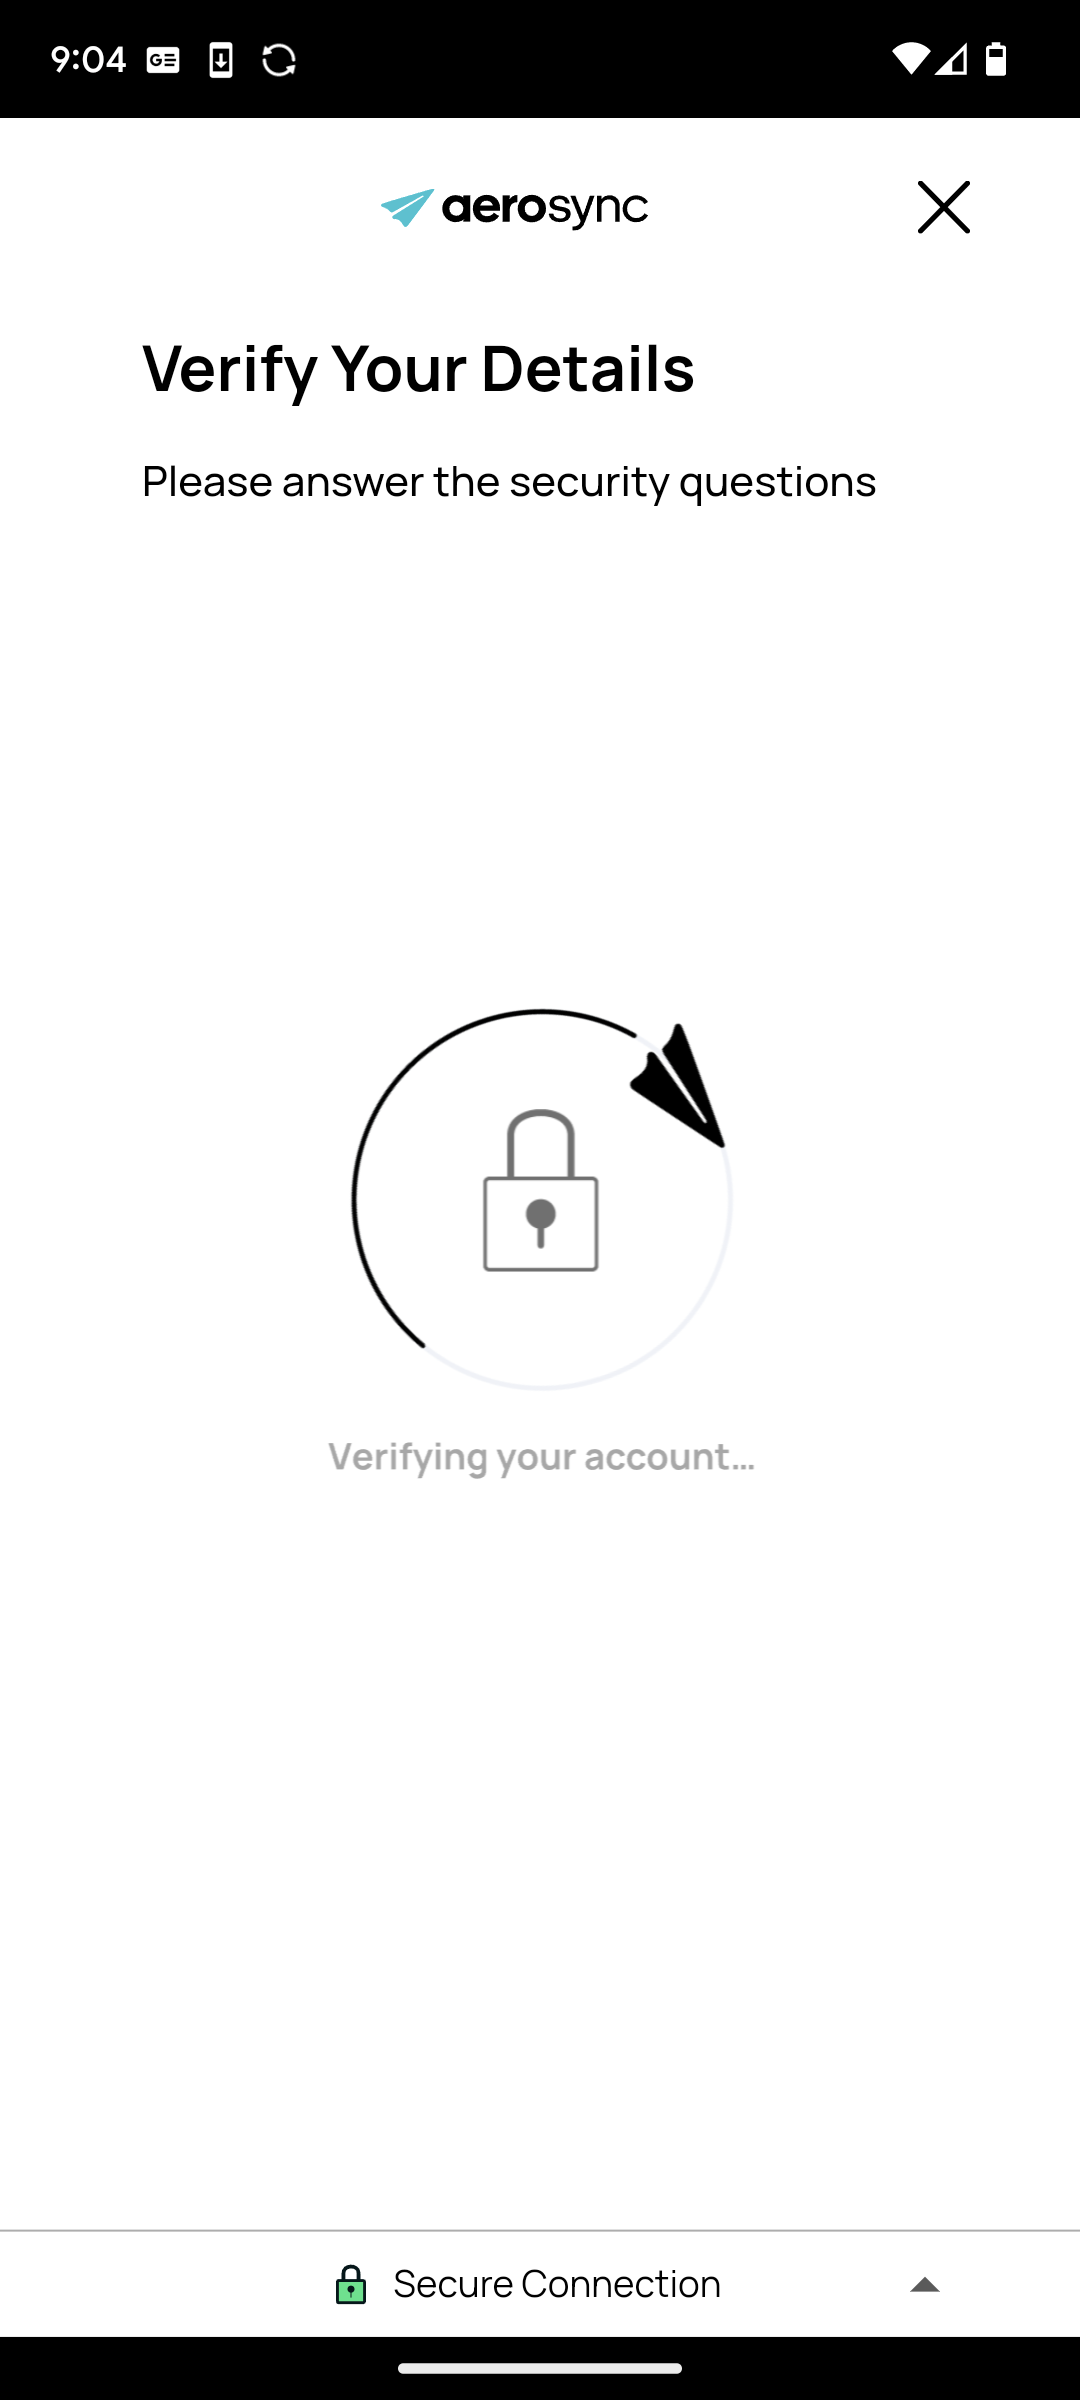
On successful verification, Aerosync will display the success page and on clicking the 'Continue' button will close the widget.
Step 5: User completes the challenge
The widget presents the MFA challenge to the user. Once they respond:
- Success: You'll receive a
completedwebhook for the job. Proceed to retrieve your data. - Failure: You'll receive a
failedwebhook. The job will not complete.
Testing in sandbox
To test the full pending_mfa flow, use the Aerosync Bank (MFA Trigger) test institution. The flow runs in two phases:
Phase 1: Set up the bank connection
- Launch the Aerosync widget
- Search for and select Aerosync Bank (MFA Trigger)
- Log in with the following test credentials:
- Username:
mxuser - Password:
challenge
- Username:
- When prompted with the MFA challenge, enter
correctas the answer - The widget closes, store the
connectionIdfromonSuccess
Phase 2: Trigger and handle pending_mfa
- Attempt any Aerosync data job (balance, identity, or transaction history) using that
connectionId. The job will return apending_mfastatus and Aerosync will emit thepending_mfawebhook - Re-launch the widget with
handleMFA: true,jobId, andconnectionIdin the config - The widget launches directly into the MFA challenge. Enter
correctto complete it. The widget will close on success
Updated 18 days ago